If you are a Episerver developer and would like to increase your skills learning Sitecore, this tutorial will help you to understand some concepts, and applies to both Products, and help you to implement and understand some basics.
Installation
Sitecore 8 can be easily installed (Click here to know more )
Sitecore 9 installation require some time and effort to perform the installation (click here to watch a video)
First contact
1)Login URL : On EpiServer you can use this URL : http://episerverhost/Util/login.aspx

On Sitecore the url would be “https://sitecorehost/sitecore/login”
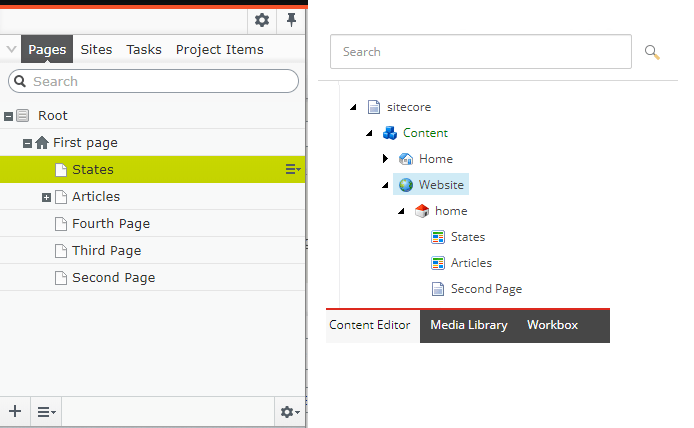
2)Content Tree :
http://episerverhost/episerver/cms/
The pages are stored in a similar way, you can see the content tree from both products are similar, However, in Sitecore we will call “Items”(it can be pages or not).
3)Storing Media (Photos, Videos) :
On Episerver, the Media is stored in a Separate Tree visually,and through the button “Assets Panel” – > “Media” user) that will give you the interface to upload the files
On Sitecore, the “Media Library” is on the same tree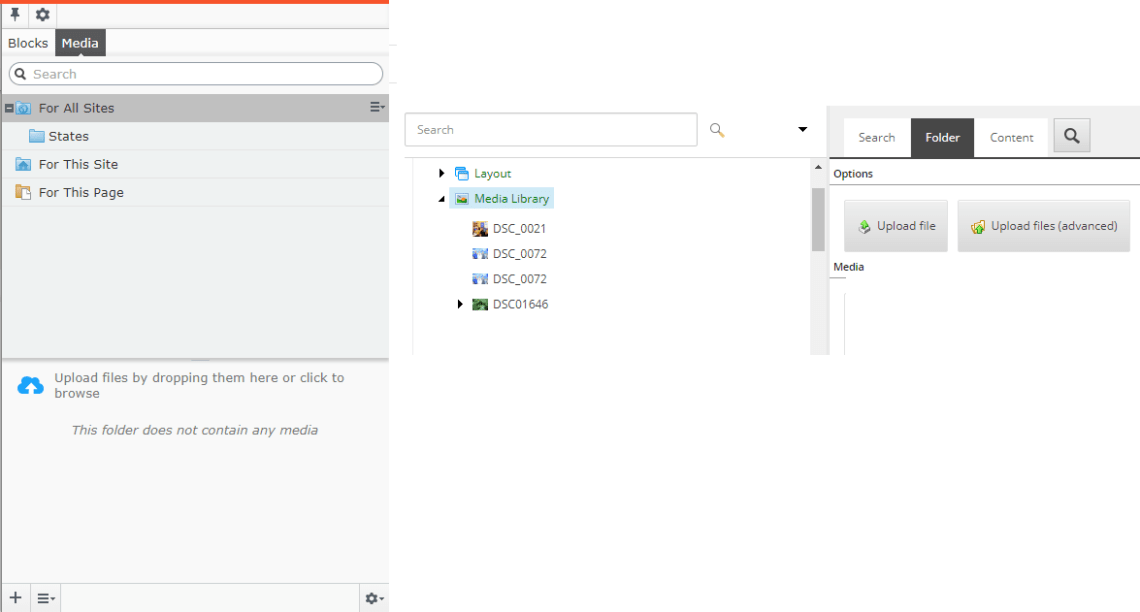
4)Adding a Block to the Page :
The “Block” on Episerver can be described as a “Component”(rendering) in Sitecore , on the content editor screen it will look very similar
However, there is some differences in how to make the possible to insert a Block(Component) on the page

On Episerver you will find the code below (on back-end)
public virtual ContentArea MainContentArea { get; set; }
and on the view(.cshtml)
@Html.PropertyFor(x => x.MainContentArea)
on Sitecore, the approach will be slight different, you will need to add a “Placeholder” on the .cshtml file , this will allow the “Add Here” to show up
@Html.Sitecore().Placeholder("maincontent")
5)Solving Issues and concepts :
Situation: You have a drop down of States, that must be used on the website, but those “States” should not be pages, Just “Metadata”.
Ex:
<option value=“AL”>Alabama (AL)
<option value=“AK”>Alaska (AK) </option
On Episerver , the developer could created a Class(“Content Type)” , “State”, that will store this information and that could be store in a Folder, under “Blocks”, and since it support code-first, all the information will be on the Class and it will show up on the CMS as fields to be filled
Ex :
[ContentType(DisplayName = "State Block", GUID = "f9e08d2c-4b2e-42fa-a596-f83f130e3c91", Description = "State data")]

public class State : SiteBlockData {

public virtual string Text { get; set; }

public virtual string Value { get; set; }}
On Sitecore ,code first it not there by default , in that case you will need one additional tool, called “Glass.Mapper”, or just create the “Template” (entity that stores data) on the CMS Itself, or use an auxiliary tool ,very famous among the developers called “Sitecore Rocks“, this tool allow the developer to create the Template without the need of use the CMS Interface. In order to save the Templates on the Project, the developer will use some tool like TDS.
Some additional information on “How to create a Template in Sitecore) can be found here .
After you create the Entity (Template), You need create an Instance(Item) of that entity , and that usually will live outside of the “Website” root , usually a folder called “SiteData” or similar , all the reusable Items(the blocks in Episerver), can be stored safely.
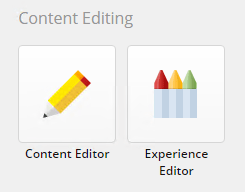
Content Author Experience
On Episerver the user can basically use “On Page Editing” and “all Properties” buttons

Sitecore provides a similar tool with the “Experience Editor”
the “Content Editor” resembles Episerver “all Properties” while “On Page Editing” resembles the “Experience Editor(formerly know as Page Editor)
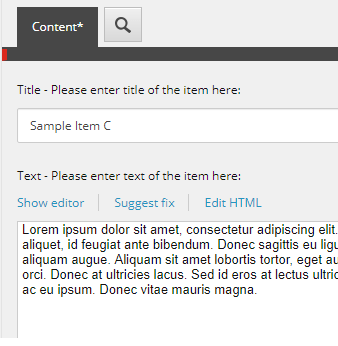
Below, an image representing Sitecore Content Editor , with two fields(Title,Text)
Content Transfer
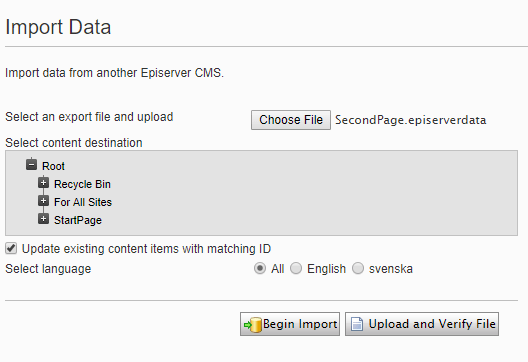
One very common task perform is the transference of content between servers, suppose that the developer had to create a content on his local developer environment, and this content must be installed on the QA server, On Episerver, the developer would use the Export/Import tool as the picture below
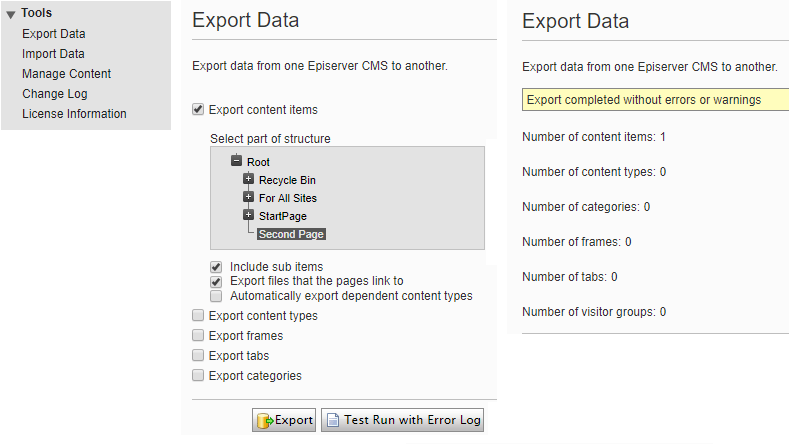
The process above would generate a file like “SecondPage.episerverdata”, that will be “Imported” on QA Instance.
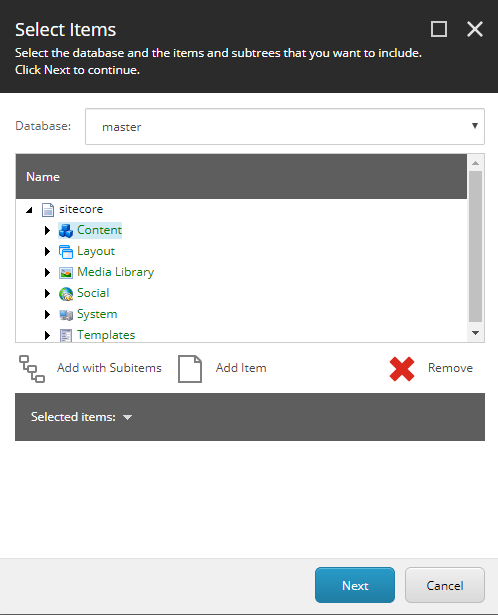
How a Sitecore Developer can achieve that ? Using a simple and very straightforward solution, the “Package Designer” , It’s possible to “pack” content , like pages, images, and install them in another Sitecore instance.

The tools is very complete, on the image below shows up some options to add items to the package
“Add with Subitems” it would add recursively all the items below the selected item
“Add item” : It adds add a single item
Dealing with thousands of items In Sitecore :
Sometimes on your CMS, the developer may face some scenarios of handling too much information on the same folder, let’s think in a Example of storing 1.000 cities on the same node , suppose all the cities are in one single folder. Sitecore has a feature called “Bucket” , this feature would be active on the main folder and all those items below would be perfectly able to live there, but instead of showing all the items(which may be slow), would show you “items hidden” this would avoid showing all the information at once.
Dealing with a huge amount of items , or searching for them would be better use Solar Search instead of the native API, since SOLR search is very fast. Some fresh developers may use “GetDescendents” , but not recommend due to performance issues.
6) The Native API
Let’s review the GetDescendents command.
On Episerver, you could get the descendants of a ContentReference by using the command below
var lstIEnumerable = DataFactory.Instance.GetDescendents(contentReference);
This would be usefully, in the problem above, if you have an Field(ContentReference), that Points to the “States” folder, and that will return all the items below.
On Sitecore both commands do exist, with a similar signature
List listItems = contextItem.Axes.GetDescendants();
7)Personalization
Both products support “personalization “, and the content editor can apply in a very similar way. However, Sitecore allows the Martketing team to create more complexes cases.
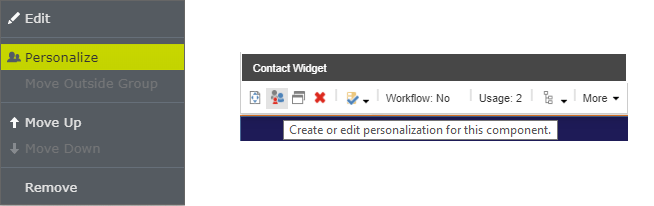
below you can see some predefined rules in Sitecore

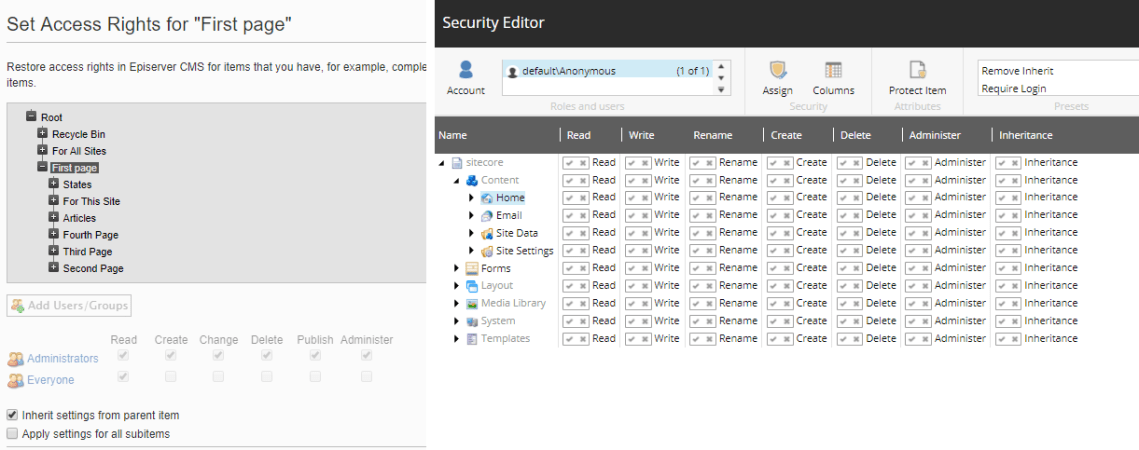
8)Security
Sitecore has an excellent Security access control , it allows roles to inherit other roles, increasing the complexity of the configuration, by the other hand, it gives you some tools to easily manage all the scenarios.
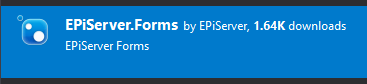
9)Episerver Forms/Sitecore Forms
After the installation of the Nuget package “EPIServer.Forms” , The developer will see the the Forms on Episerver , and it will be able to add/create new forms on your local Episerver instance.
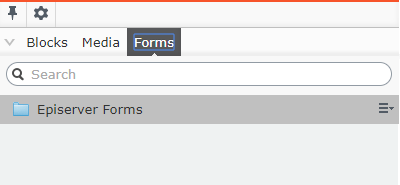
Sitecore also offers also a tool that enables the creation of forms, the button is accessible on dashboard.
10)Publishing Items
Publish content is a very daily task faced by content authors , on Sitecore the user will see more options on the publish pop-up.
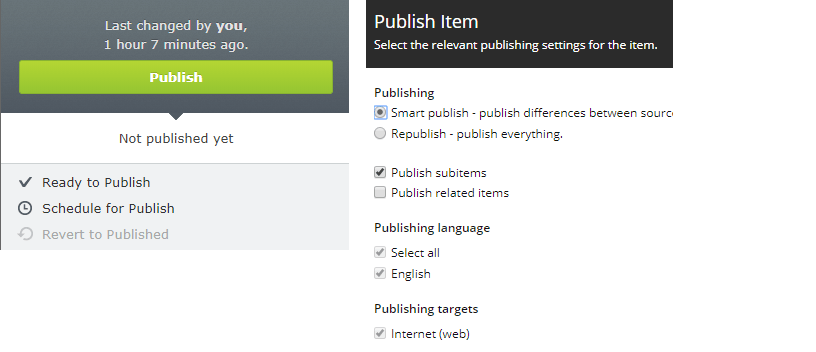
Sitecore works with the concept of “Databases”, being “web” the database that is faced by the user on the internet, and that is where the data is pushed after the “Publish button” is clicked. it’s even also possible to navigate on the “Web” database and look for differences if necessary.
to know more about Sitecore Databases, Click here
11)Additional Modules
Episerver provides a bunch of additional modules free and paid , the Episerver Marketplace is a very resource for the projects
Sitecore marketplace contains also modules available to download, including some Modules that I participated/developed
Summary :
Sitecore will handle everything that Episerver already has, plus , additional features and complexity.

You must be logged in to post a comment.